看到網路上的人都推說,Linux Server使用CentOS架設比較適合,從預設開啟防火牆就知道了,我就來試試看CentOS與目前本站使用的Ubuntu Server差在哪。
安裝CentOS與更新套件清單
- 從CentOS官方網站下載最新版CentOS-7-x86_64-DVD-1511.iso,安裝過程就省略了,本人是使用最小安裝,所以只有指令介面,反正要當Server使用,如果安裝GUI的話反而浪費資源對吧?
- Ubuntu與CentOS安裝套件的方式有點不太一樣,Ubuntu是使用
apt-get這個指令來安裝,但CentOS是使用yum來安裝套件,這點需要注意一下。首先先更新一下列表吧,使用管理員權限的帳號輸入
sudo yum update -y
-y 是忽略詢問是否同意直接更新
安裝Apache網頁伺服器
- 安裝前記得先使用上面的指令更新套件清單唷,不然可能會有奇怪的問題。
- 輸入指令
sudo yum install httpd -y
- 安裝完畢後接著就要啟用服務拉,輸入指令
service httpd start
安裝MariaDB(MySQL)資料庫伺服器
- 在CentOS 7.X中MySQL是被替換成MariaDB的,所以就借此也來體驗看看MariaDB的資料庫囉。
輸入指令
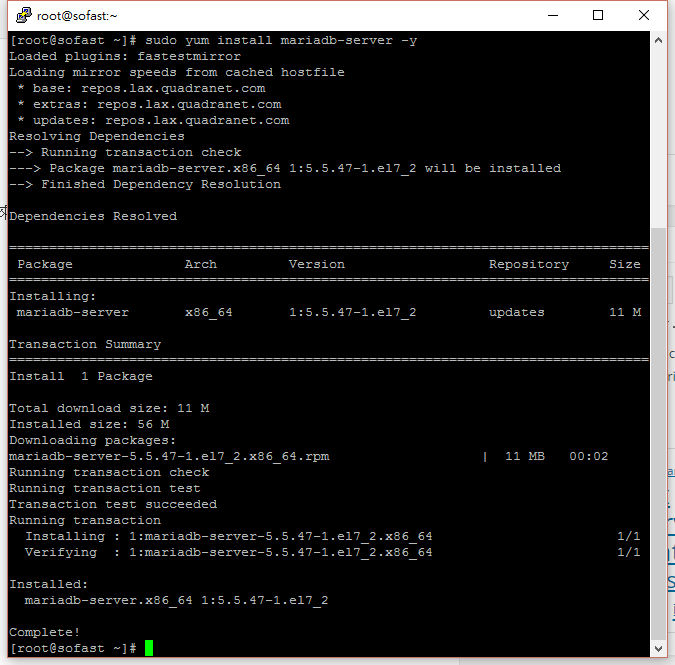
sudo yum install mariadb mariadb-server -y
這樣就安裝成功囉!
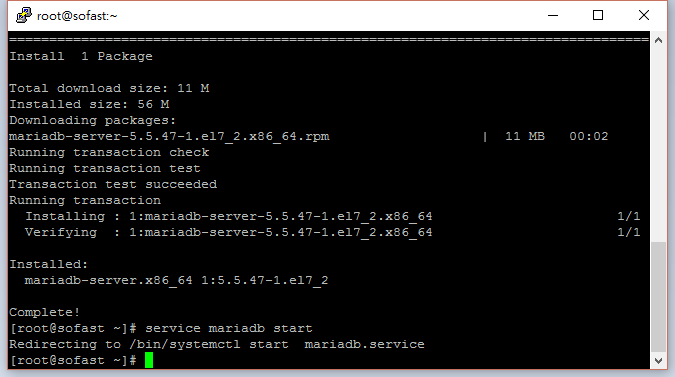
- 來啟動服務吧
service mariadb start
設定MariaDB伺服器
- 安裝完畢後,就來設定一些資料庫的基本設定吧!
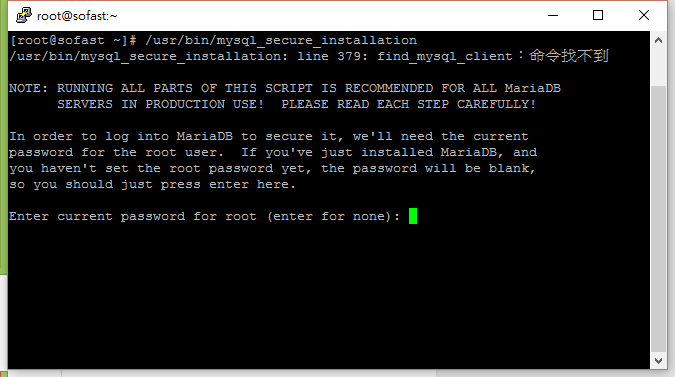
輸入指令
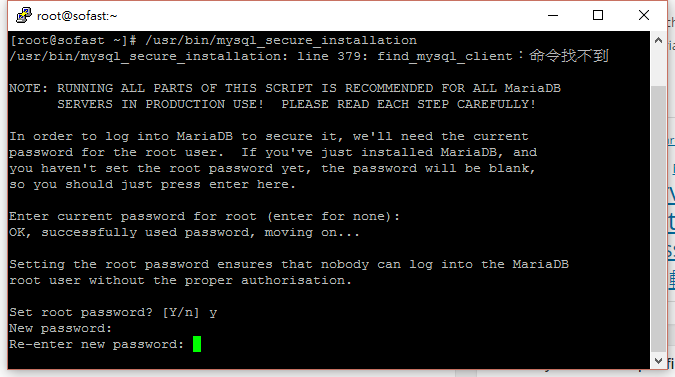
/usr/bin/mysql_secure_installation
這裡因為是第一次安裝,所以直接按Enter繼續即可。
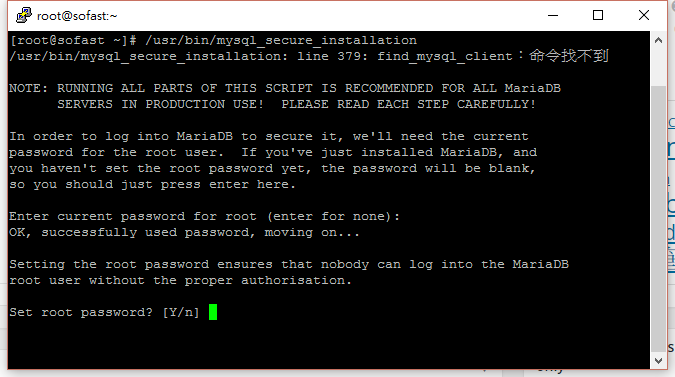
- 是否要設定root的密碼,輸入
y開始設定
- 重複輸入兩次相同的密碼
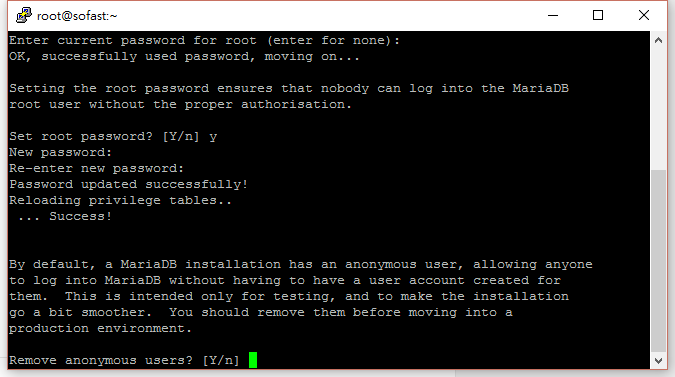
- 是否要刪除匿名帳號,輸入
y同意刪除,不然日後會有很多安全性問題
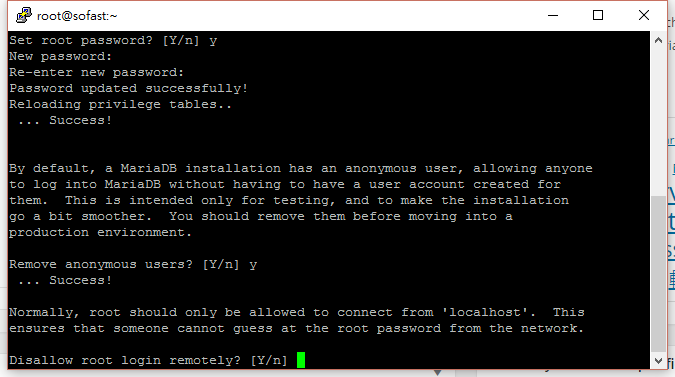
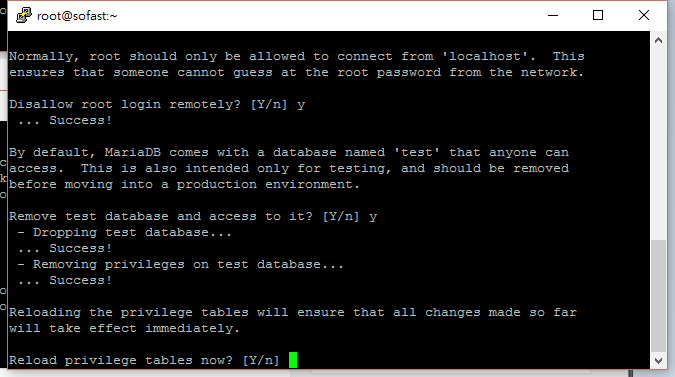
- 是否要開放root管理員透過外網登入,這邊請輸入
y限制管理員只能從本地連線較為安全
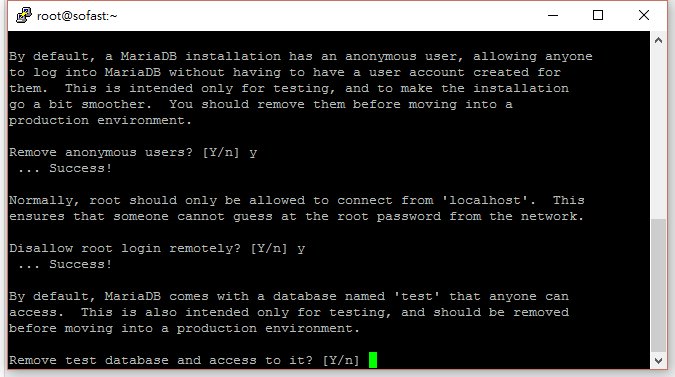
- 是否刪除test資料庫輸入
y
- 是否重新載入權限表輸入
y

- 設定完成!
安裝PHP+phpMyAdmin管理資料庫
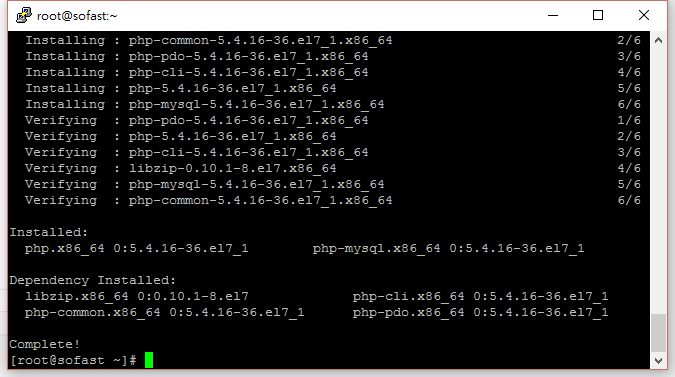
- 安裝php與連接資料庫套件
sudo yum install php php-mysql -y
- 安裝yum第三方EPEL套件庫
sudo yum install epel-release -y
清除快取
sudo yum clean all -y
更新套件庫
sudo yum update -y
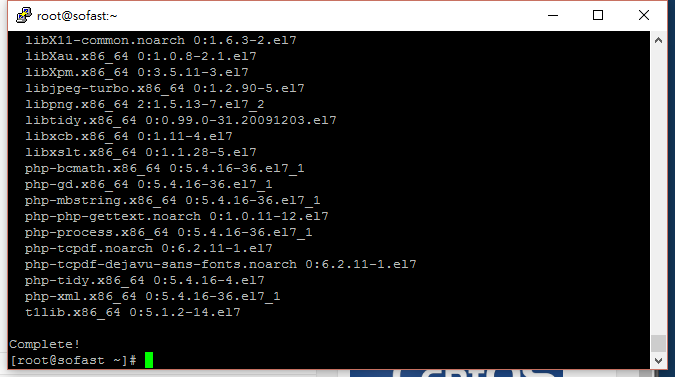
- 安裝phpMyAdmin
sudo yum install phpmyadmin -y
- 重新啟動網頁伺服器
service httpd restart
設定防火牆
- 永久允許網頁伺服器通過防火牆
sudo firewall-cmd --add-service=http --permanent
- 若需要https服務則輸入
sudo firewall-cmd --add-service=https --permanent
查詢防火牆規則
firewall-cmd --list-all --permanent
--permanent為永久規則
- 重新啟動防火牆
service firewalld restart
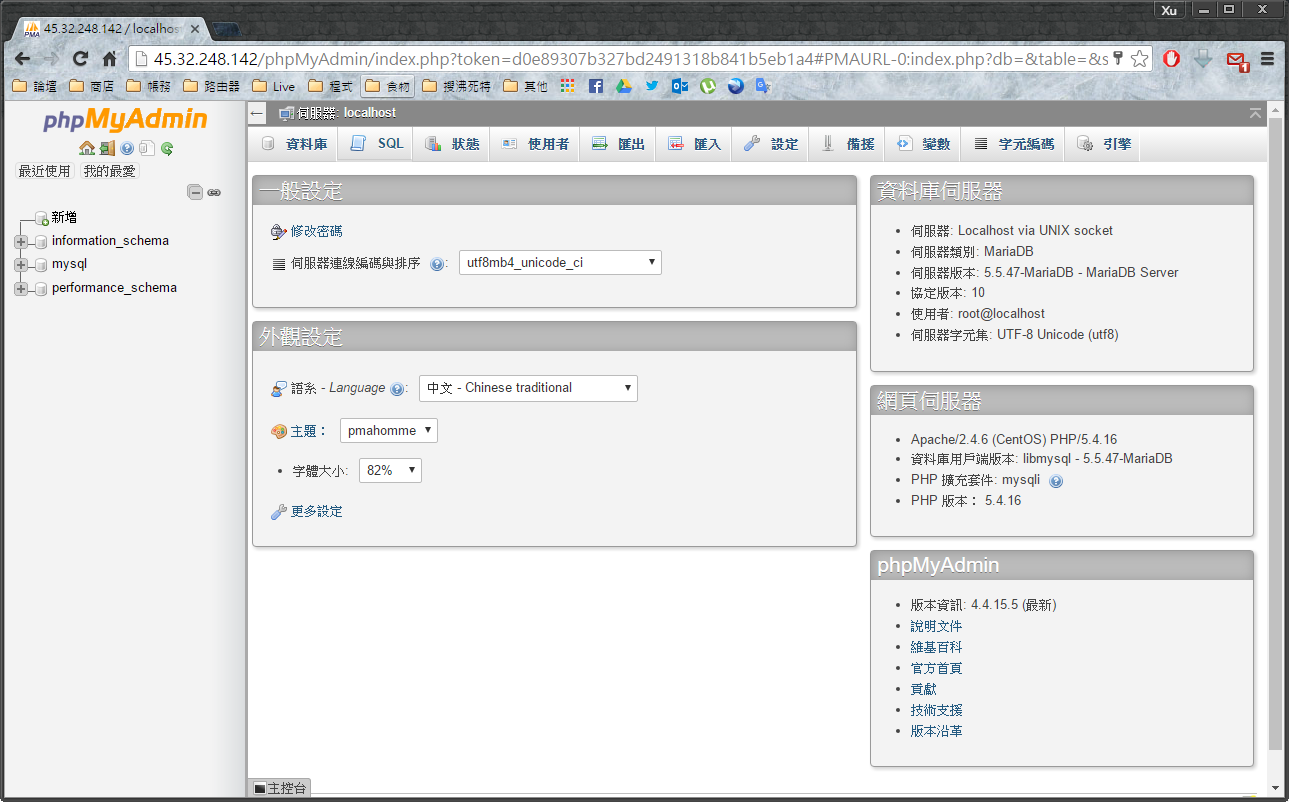
設定phpMyAdmin
- 預設除了本地是不允許訪問phpMyAdmin,但因為我們現在要設定所以需要修改一下預設值,使用WinSCP連線到主機上面打開
/etc/httpd/conf.d/phpMyAdmin.conf
- 找到
<RequireAny>
   Require ip 127.0.0.1
   Require ip ::1
</RequireAny>
在Require ip ::1下方新增自己的IP
<RequireAny>
   Require ip 127.0.0.1
   Require ip ::1
   Require ip 你的IP
</RequireAny>
- 重啟網頁伺服器
service httpd restart
- 這樣就可以正常登入囉!
開機自動啟動服務
每次開機都要手動啟用服務,這樣實在太麻煩了,輸入以下指令可以在每次開機後自動啟用服務
chkconfig httpd on
chkconfig mariadb on
參考:
- [Centos7] 新的防火牆firewalld
- Installing LAMP (Linux, Apache, MariaDB, PHP/PhpMyAdmin) in RHEL/CentOS 7.0